


Muscle training, body make-up companion! Juicy salted koji chicken ham

<Working time 20min + Keeping warm 60min>
Low-fat chicken breast becomes tender and juicy with the power of salt koji. The marinade gives a refreshing and easy-to-adapt flavor that doesn't get boring. Great for snacks, salads, fresh spring rolls, etc.
Protein is necessary to keep muscles, skin, hair, and nails healthy, but unfortunately, it cannot be stored in the body like sugar or fat. It needs to be consumed daily and digested and absorbed. Let's break it down softly with the power of salt koji and absorb it well!
There are 11 steps in the recipe (sweat), but basically, open it, season it, roll it, put it in a bag, and keep it warm—this is the rough procedure!
~~~~~~~~~~~~~~~
【Ingredients】
・Vinyl bag that can be heated in water
・Chicken breast...1 piece
A For pickling
・Salt koji...1-2 tbsp
・Oligosaccharides...1 tbsp
B Marinade
・Vinegar...2 tbsp
・Rice oil...1 tsp (for low-temperature cooking, it's fine to use something other than olive oil for heating)
・Salt koji... 1 tsp
・Oligosaccharides...1 tsp
▶view! Salt koji made from sweet rice amazake
▶view! Fully ripe! Salt koji, half-year aged
▶view! Japanese rice oil
▶view! Domestic rice bran oil
▶view! Special Rice Oil - Germ Premium Method
▶view! Hokkaido Dosanko Oligosaccharide
【How to make】
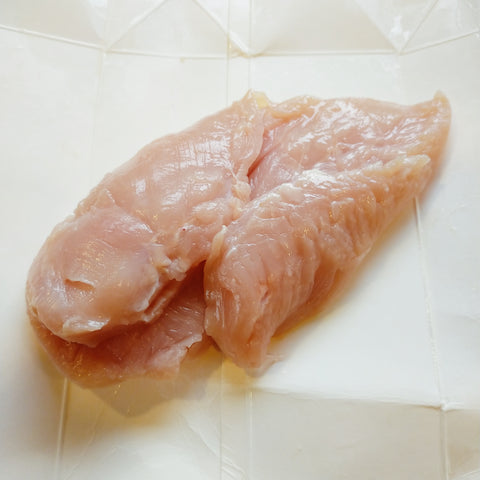
1. If you want to reduce thin membranes and fat, remove the skin and fat. (The thumbnail is skinless)

2. Wipe off moisture from both sides of the chicken breast with kitchen paper.
3. Place the skin side of the chicken breast down and open the meat side like a fan.
To roll the chicken breast in the later steps, make the thickness of the chicken breast even.
Fan opening w

4. Poke holes in the chicken with a fork. Poke it repeatedly.
5. Prepare A for marinating and B for the marinade.
6. Spread A on both sides of the chicken breast.

7. Roll the chicken breast.
※It's good to roll it in a fan shape and vertically, but please adjust it to fit the width of the vinyl bag.
※If you don't have a kitchen thermometer, please ensure it is less than 5cm thick.
※If it has skin, placing the skin side inwards makes it easier to cut and eat when finished!
8. Place it in a vinyl bag, shape it, and let it rest for a while.
9. Boil water, Once it boils, turn off the heat.
10. Put the marinade in a vinyl bag, remove the air, close the bag, shape it nicely, and place the entire vinyl bag into the pot.
※To ensure heat transfer, please make sure to remove all air.

Pichit!

Shape it while imagining the finished product.

Splash!
11. Temperature Management
Thickness of the meat before heating is about 5cm: 65℃ water bath for 1 hour.
◆If you are not using a kitchen thermometer or sous vide cooker, please refer to the following.
Using a small 20cm diameter Staub.
”00 85℃ Immediately after placing the chicken in the boiling pot.
"10 68℃
"20 58℃ Here, heat on low for about 3 minutes. Be careful not to let the plastic bag melt.
I kept it above 60 degrees for up to 60 minutes like this!
12. Chill while still in the plastic bag. Once it has cooled down, place it in the refrigerator.
\ Completed! //
Please cut it after it has cooled down properly☺️ My photography skills are amateur, but can you feel this juicy cross-section!?

The topping in the thumbnail is chopped soy sauce ginger.
Chicken ham salad taught by Mr. F is also a reference for plating!
【Important Note】
If it's cut and raw, please make sure to lightly sauté it before enjoying!!
I have encountered it once, and it was truly terrifying..
※Conditions for the death of Salmonella bacteria
At 55 degrees for 55-64 minutes, at 75 degrees for 1 minute